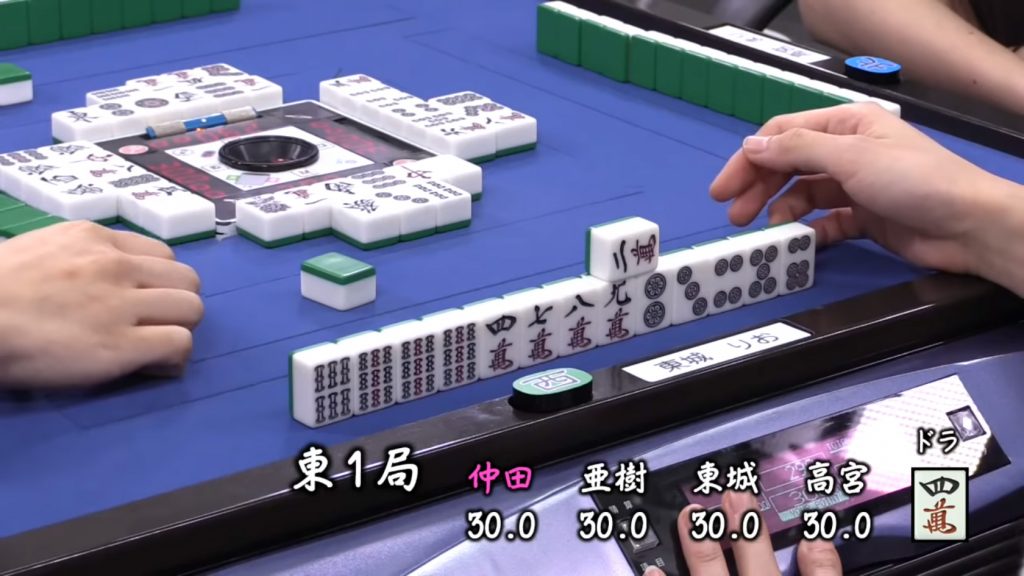
I enjoy playing on auto-tables, but not for the reason you might expect. Yes, the automated shuffling and wall-building is wonderful, but there’s another aspect of auto-tables that I enjoy: having something to align the tiles with. In the middle of the table is the automated dice roller, apparently called a “dice box”, but it seems there’s no corresponding word for manual play, so I call it a “centerpiece”. Notice how all the discarded tiles get pressed against it and look neat and organized. Contrast that with a normal game on a roll-up mat where the tiles aren’t centered and scattered all over the place.
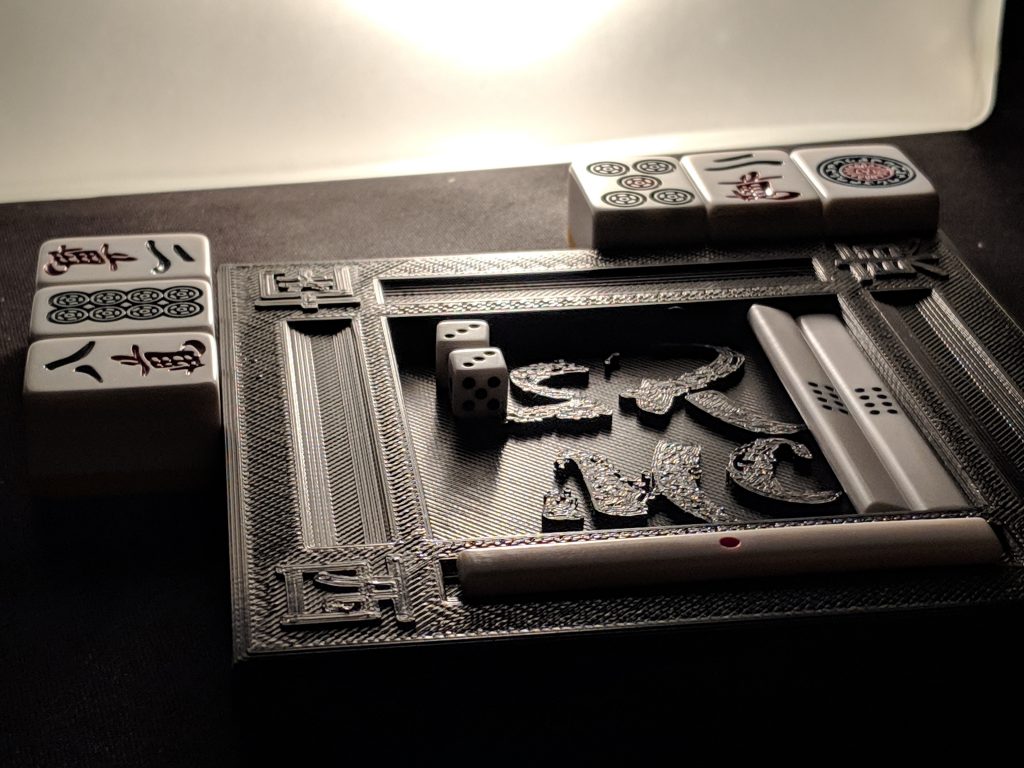
So, using Blender I got to designing a new centerpiece. I just measured the width of my tiles, multiplied that by six, and added a very small amount so the tiles wouldn’t be completely jammed in. From there, I measured the size of my point sticks and created recesses for riichi sticks to be placed (as seen in the screenshot above). My first mistake was making the recess as deep as the stick as tall. This made it difficult to get the stick back out, so I made them shallow in later versions. Next, I created another recessed area in the middle for rolling dice. This ended up not working out very well in practice because it doesn’t provide much of a boarder to keep the dice in. Eventually I would just use this area for decoration. Last, I added the wind directions to denote who is dealer and what everyone else’s winds are. After some trial and error with the 3D printer, it was finished.
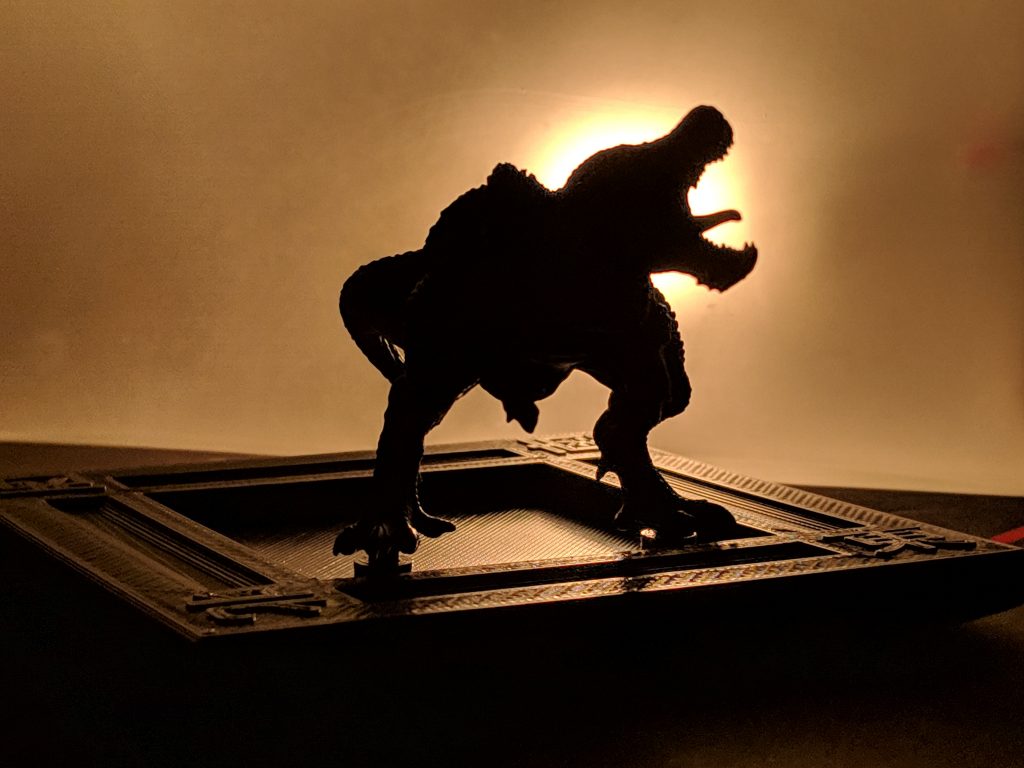
Of course, I had to have a little fun with my personal centerpiece. The one above is more like my backup one in case my main one (below) annoys the other players. I measured the mounting pegs on the bottom of my anjanath1A creature from Monster Hunter: World figure and made mounting points for them, similar to the stand it came with. And, just in case anyone is confused about who is
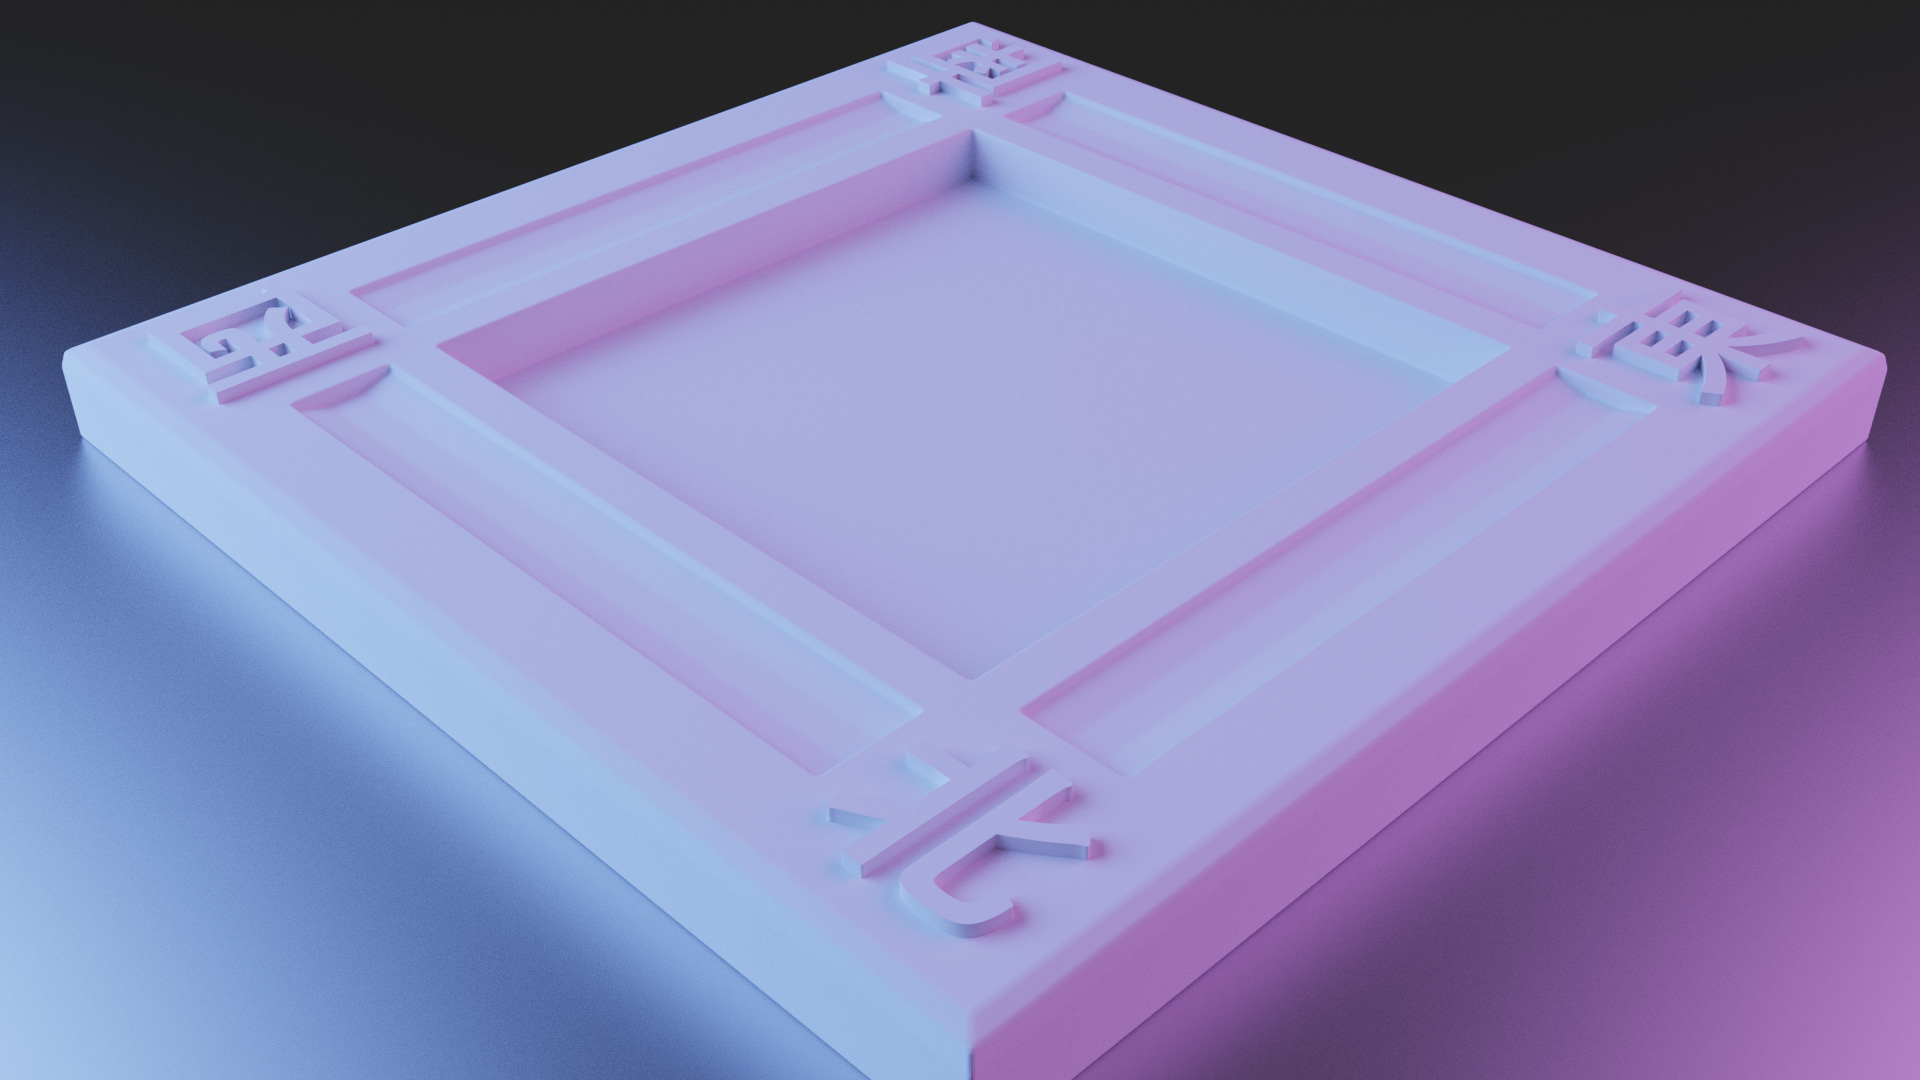
One last bit of goofing around; I added some lights and materials to my 3D scene and created this render which is kind of cool but also serves no real purpose other than to demonstrate what the model looks like.
The STL files are available in the following ZIP file. It contains both the ‘blank’ version as well as the “SRMC” version. I increased the height of the wind characters compared to the prints I showed earlier, and I fixed the orientation in the “SRMC” version so the text is oriented to east rather than north.
I like the minimalistic design. Does what it’s supposed to, nothing more, nothing less. I shall steal this and use it in my group’s table, mwahahah
Let me know how it works!