My friends down at LAPOM/MJ Stars have recently announced their partnership with AMOS, Japan’s leading manufacturer of high-quality automatic mahjong tables, and is now a distributor for AMOS tables here in the US. Before I was aware of the details, I had seen videos and other content pieces from the LAPOM team about trips to Japan to visit the headquarters of AMOS. Shortly after, they asked me if I could create and print a 3D model of one of their tables. Seemed like an interesting challenge, so I said yes and got to work.
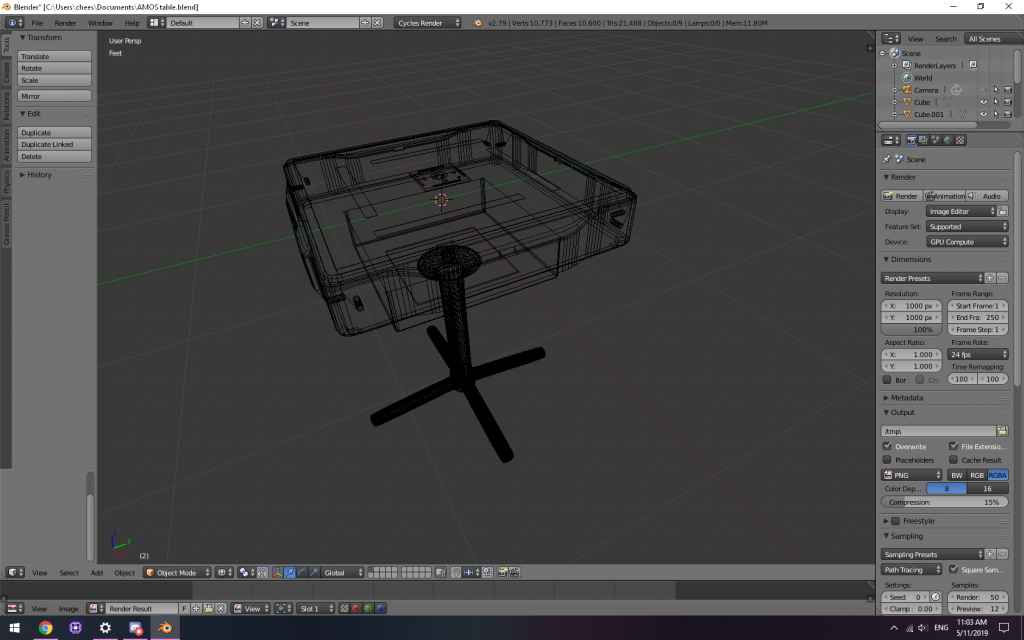
After being sent a large number of photos detailing each part of the table, along with measurements of key pieces, I got to work building the table in Blender. It’s not the “correct” tool for CAD or 3D printing, but I was familiar enough with it that I didn’t have any issues creating a print-ready model.
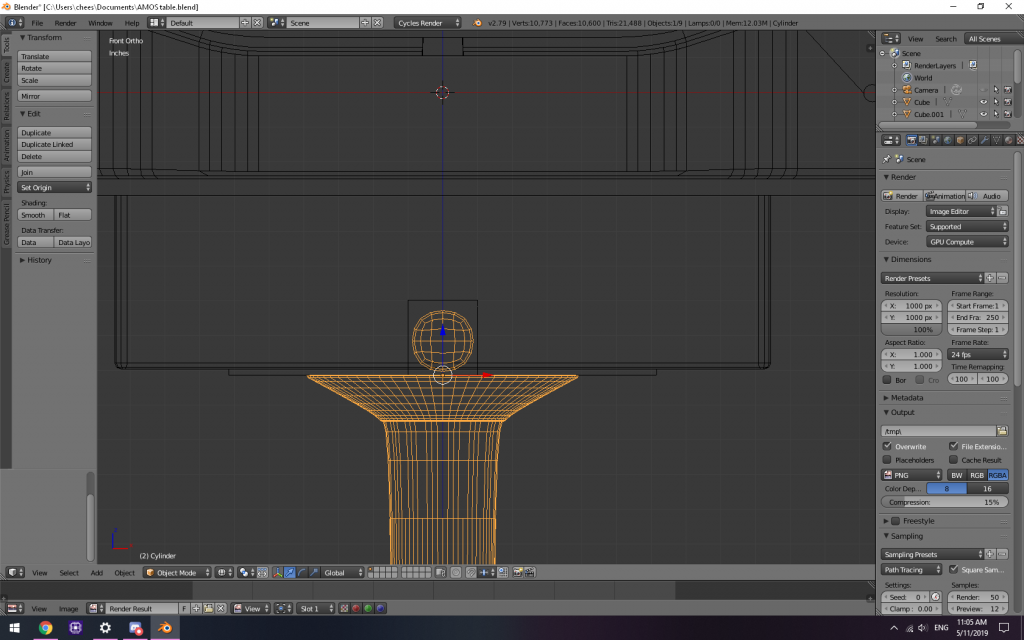
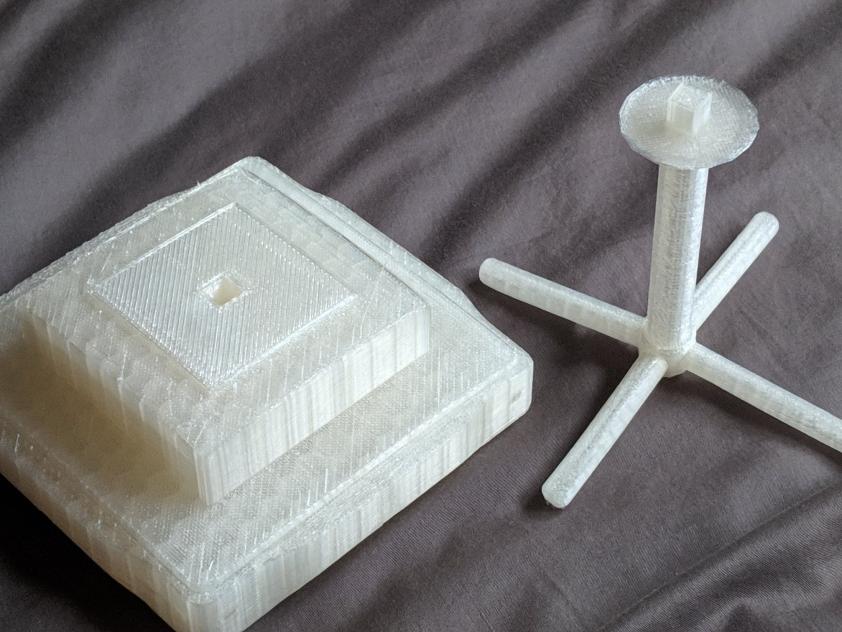
3D printers typically work by laying down a layer of hot, semi-molten plastic down, then laying additional layers on top of the previous ones, building up and up until the model is fully printed. As you can imagine, printing shapes with overhangs, like a letter ‘T’, don’t work because there is nothing for the top of the model to be printed on; it just floats in the air. To get around that, ‘supports’ are printed, which are small, flimsy towers of plastic that are meant to be broken apart from the finished piece, which gives the overhanging plastic something to lay down on while it’s printing. Once the print is done, just snap or cut the support materials and you’re good to go. The down side is that it uses a lot of additional plastic which increases print time and waste. To get around this, I created the table and legs as two separate pieces that lock together. It’s nothing more than an additional square places on top of the pedestal, and a square exactly that size cut out from the bottom of the table. This meant that very little support material was used, and in the event of a failed print, each half could be reprinted, rather than reprinting the entire thing. If you’re wondering why I want to avoid reprinting, it takes something like 32 hours to print both halves, and printing the whole table as a single object would potentially take 50 hours.
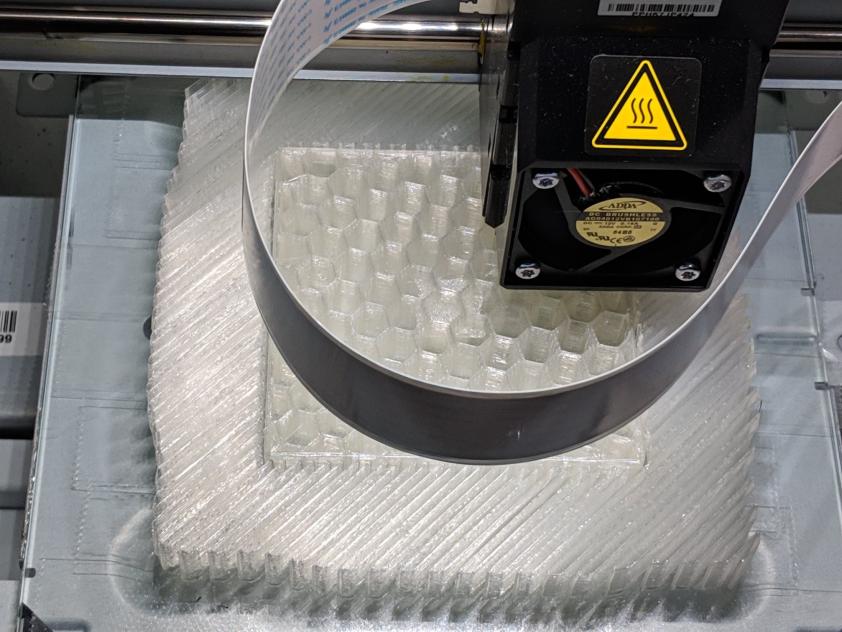
Support material on the outside, honeycomb filling on the inside. 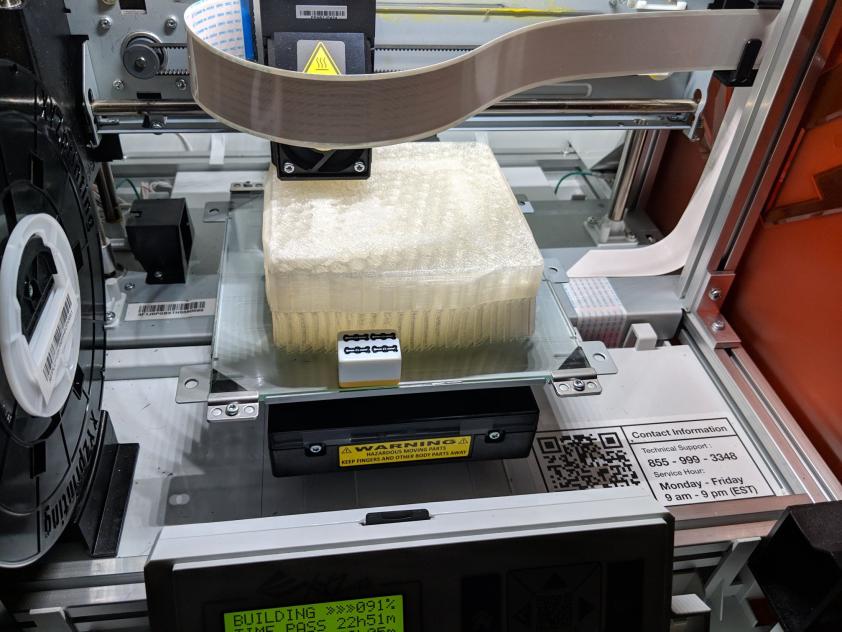
Table is nearly finished. Riichi tile for scale.
In the images above you can clearly see the support material, which is printed in a flimsy accordion pattern, which makes it very easy to pull away from the finished print. It’s possible to print models as solid blocks of plastic, but this is very expensive in terms of time and materials, so solid parts are often more air than plastic. Here I chose to print using a honeycomb pattern, which I like for it’s strength, though the print time does increase compared to other patterns.

This is the final, printed version. There are a few mistakes that I would like to eventually get fixed, but for the most-part it’s rather accurate to the original table this one is based off of.
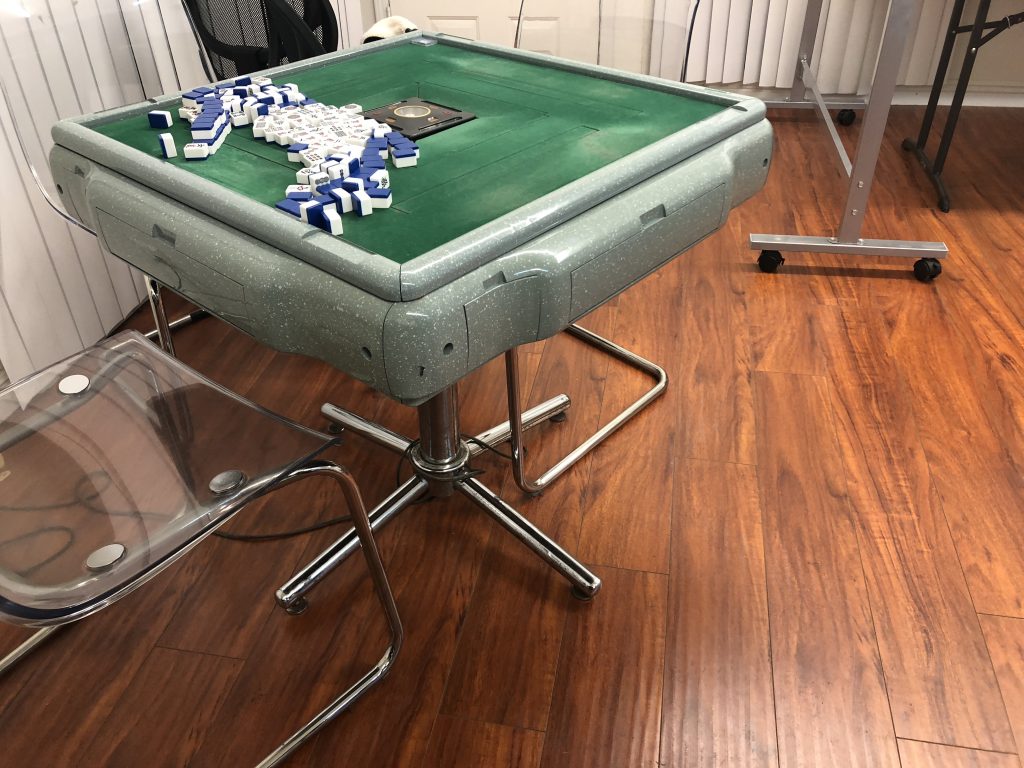
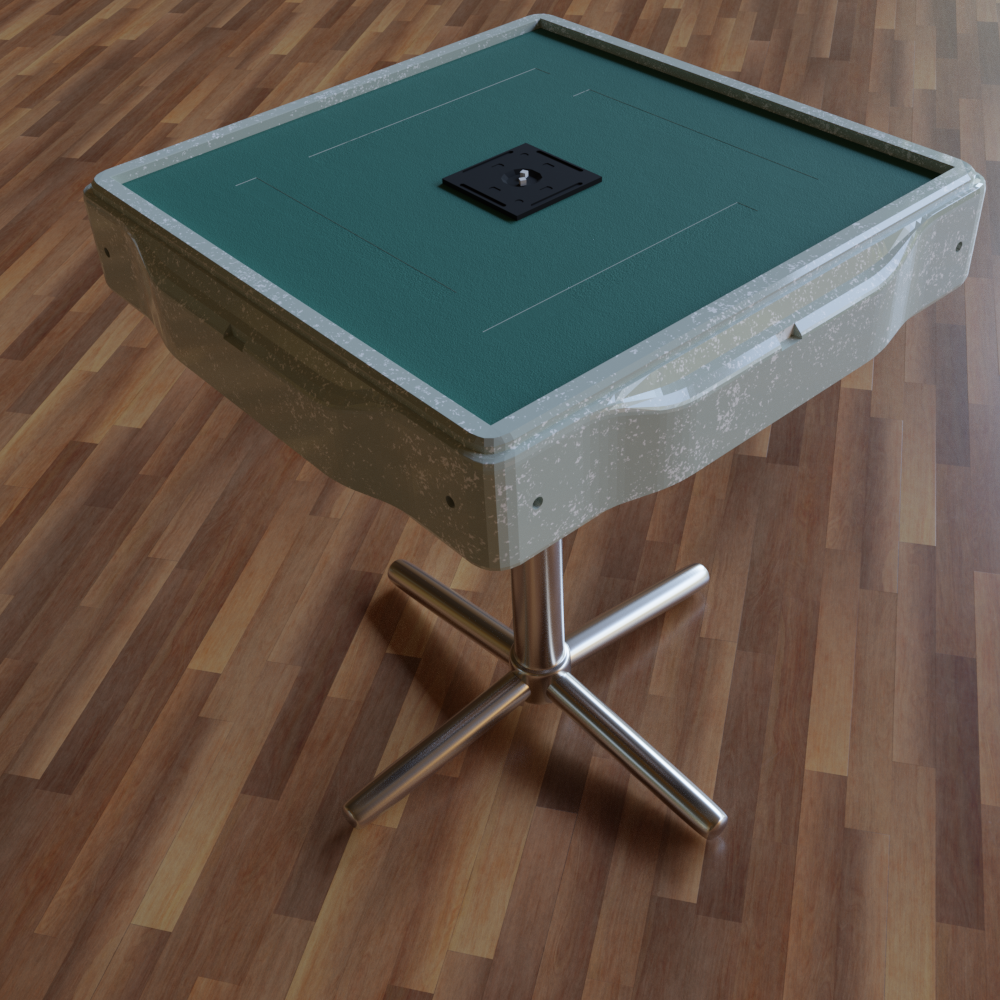
On the left is one of the reference images, and on the right is a textured and lit version of the same model I made and printed. You can easily see that the model on the right was made with a low polygon count, due to how small it would be when printed. The print looks totally fine, but there’s not nearly enough detail for a high quality 3D rendering. The model also isn’t quite as rounded as it should be, and I forgot to model in the indentations to the left of the point stick trays (cell phone holder?) as well as the indentation for the round marker. There are other small details I could have potentially added, but again, with the small scale of the printed version, they would either be too small to be seen, or they would be printed in a way that would make it look weird. That being said, I hear that one of the LAPOM members will be painting the printed model, so hopefully she can add those details in.
Overall I’m rather happy with the end result, though I would like to try it again some day when my modeling abilities have gotten better. I’m still a beginner, and struggled through a lot of the process, but it was still lots of fun. Maybe one day I can build animated models for use in a mahjong video game!
One Reply to “AMOS 3D Modeling Project”