Note: This article is a work-in-progress. Normally I wouldn’t publish an incomplete article, but I feel the content provided can still be useful. It will be updated periodically, but for the time being, it should be enough to get started playing on SegaNET MJ.
SegaMJ is my mahjong client of choice. It may not be the top choice for tournaments or serious business mahjong, but it has a nice blend of gameplay, regular events, and visual flare that I absolutely love. Even with the recent push for adding English into the game, just like Tenhou, it’s still not quite accessible for player who cannot read Japanese. Creating an account and installing the game on PC can be a struggle, but it can be done, and your efforts are rewarded. They recently released an English app which makes the process much easier, so if you’re looking for a mobile mahjong client, I would check that out, too.
Installing the Game (on PC)
Go to the Japanese SegaNET MJ website and locate the big red button on the left that says “PC” to download the Windows installer (SegaNET MJ is not available for Mac unless you want to jump through a lot of hoops).
When you open the installer you’ll probably get a Windows User Access Control message asking if you want to allow the installer to make changes to your computer. Click Yes.
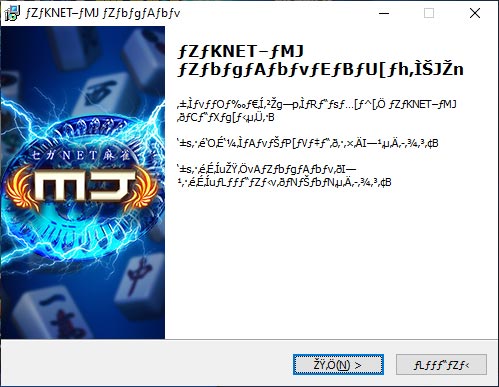
Click the button ending in “(N) >”. 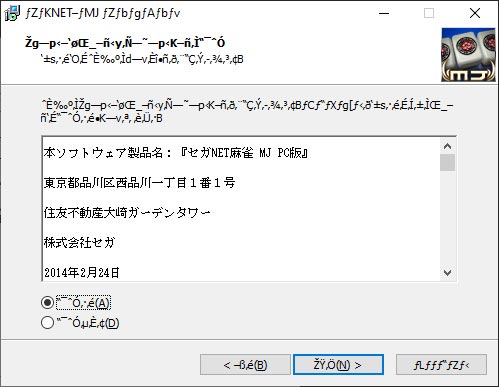
Click the option that ends in “(A)”. then click “(N) >”. 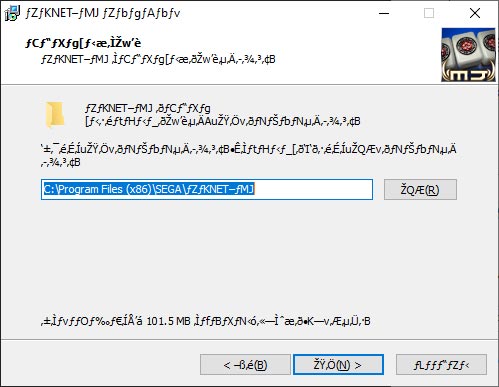
If the default install directory is fine, click “(N) >”.
The text is probably going to look like garbage. It’s because of how Japanese versions of Windows encode text. There are ways to get it to display the text correctly, but we don’t need to since the text will display correctly once the client is installed. For now, click the first button with “(N) >”, The next page is the user agreement. Click the top radio button that ends in “(A)”, which will allow you to click the “(N) >” button. The next page lets you choose where to install the client. The default directory should be fine, so click “(N) >” to continue.
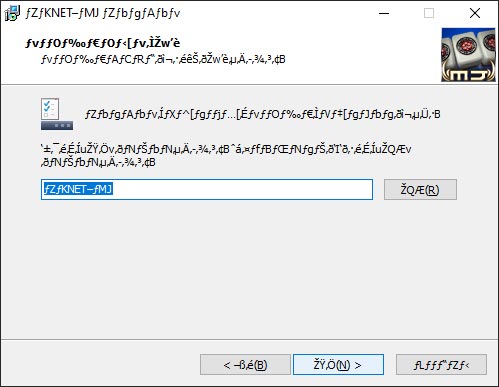
This is the name the client will have in the Start Menu. 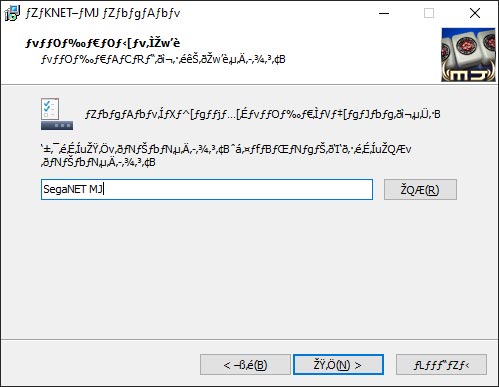
Feel free to rename it to make it easier to find, then click “(N) >”, 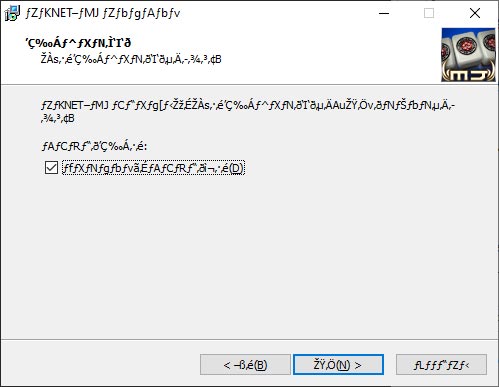
Choose if you want a desktop shortcut or not, then click “(N) >”.
The next page will let you choose what the SegaNet MJ client is called in the start menu. As you can see, you’re likely going to see garbage for most of the name, which makes it annoying if you like to launch programs by typing their name into the Start Menu. If you want, enter something like “SegaNET MJ” into the text box, then click “(N) >”. After that, you’ll be asked if you want to add a shortcut to the desktop. Personally, I don’t like having anything on the desktop, so I unchecked the box, but you can do whatever you want, then click “(N) >”.
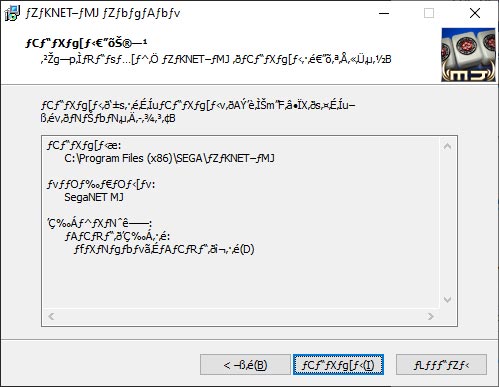
Review settings and click “(N) >” to install the client. 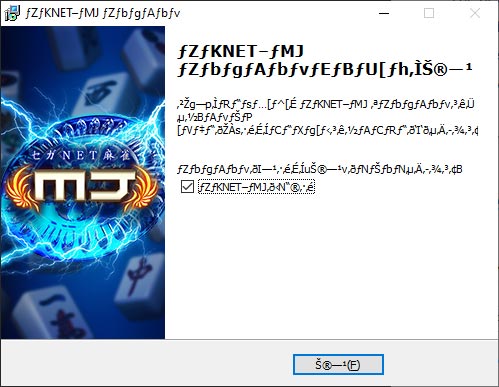
The check box is to launch the client when you exit the installer. Click “(F)” to finish.
We’re almost there. The next page gives you a summary of your installation options. Click “(N) >” to install the client. ? The final page is asking if we want to launch the client upon exiting the installer.
Creating an Account
Okay, things are starting to get good now. We have the client installed, now we just need to create our account.

When you first launch the client you’ll see a small window with a blue button that says 「プレイ開始」1Purei kaishi
Start Play. Click the button to start downloading the latest client assets. This might take a couple minutes.

When you’re done with that, you’ll see a big green button. Click that to start creating your account.

Enter your name here. 
Just like this, but pick a different name. ? 
Press Enter to get the “OK” button.
The text at the top says “Please enter your nickname”. Enter the name you want to use in the box that says 「クリックして入力」2kurikku shite nyuuryoku
Click to input, then press Enter to bring up the “OK” button. Click “OK” to continue.

Various types of characters to choose from. 
Click on a character type, then choose a preset.
Now we select our character. The options are, from left to right, “Street group”, “Host group”, “Nice Grey”, “Bulky group”, “Casual group”, and “Office Lady group”. There’s a customization system where you can change your hair, clothes, background, and accessories, and some accessories can only be used with certain groups. You can also replace your character entirely with anime characters from gochas and special events. Click a style and you’ll be presented with some additional variations on that style.
After selecting your character, you’ll be asked to choose your prefecture and city. I don’t know that this actually has any impact on anything, so I typically choose Tokyo. Choose Kanto 「関東」, then Tokyo 「東京」.

The last screen here is a review of all your account settings. If your name, character type, and city are correct, click “OK”.

Oh no! Another screen! I haven’t translated this yet but I’m pretty sure it’s saying minors aren’t allowed to play and that gambling is illegal. Click the green button to confirm that you will not be committing crimes.
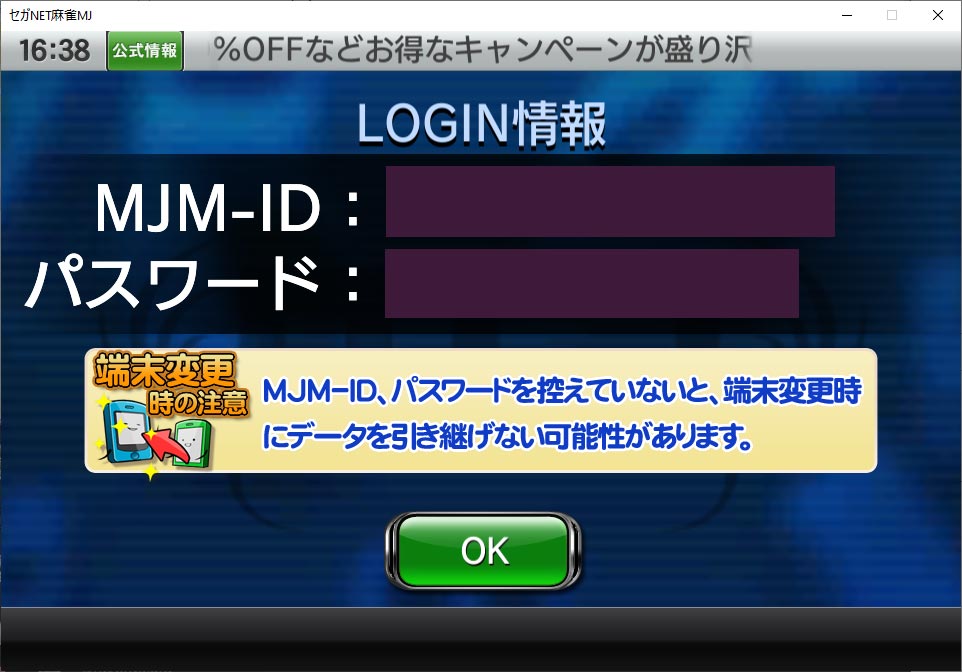
This screen is super, super, super important. Take screenshots, save it to your Google Drive, put it in your Last Pass vault, make sure you do not lose it because there is no way to recover your account if you lose your ID or password. When you click “OK” your account information will be saved to your client automatically. It will also launches the SegaNET MJ website, which you can go ahead and close.
Setting Up the Client
Congratulations, you’ve finally made it to the client!╰(*°▽°*)╯
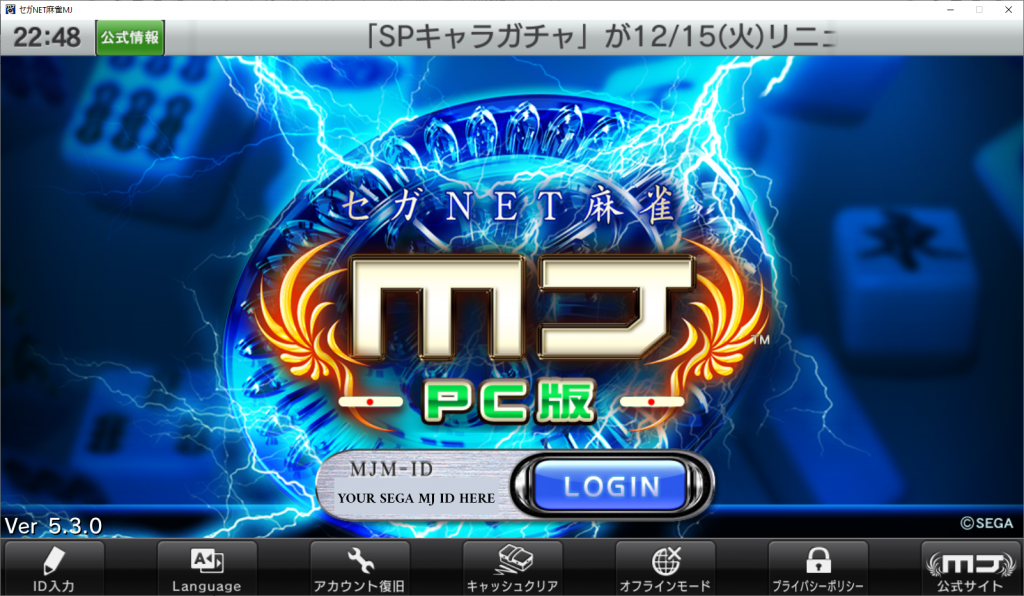
Update: The language options have since been removed as of sometimes around version 5.9. You can still select the English commentator, but English UI in the game has been removed.
Next, we want to click on the ‘Language’ button and choose ‘English’ as the preferred language. The newest version of the client should do this automatically but it’s worth checking anyway. Note that it says “Changes displayed language during match”. The core game UI is still in Japanese, but during the game most, if not all, of the text is in English, and as of a recent update the voice that reads the yaku and points after each hand is also in English.
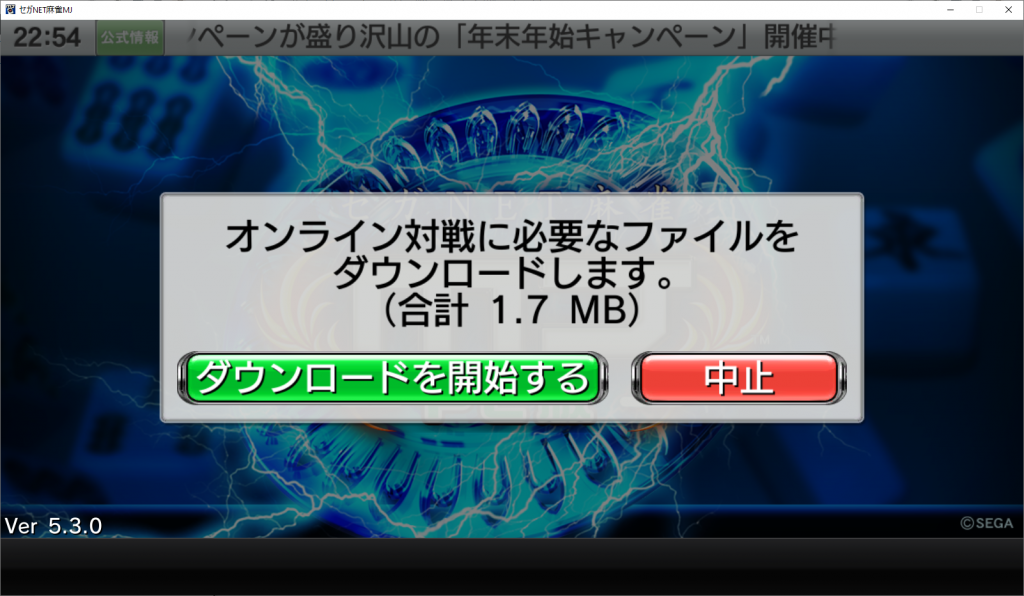
Click 「ダウンロードを開始する」3daunro-do wo kaishi suru
Start the download to download the online components of the client. Later, you might see a similar message for downloading client updates. These updates are usually very small and fast. Next, if there’s any new events or news since the last time you logged in, you’ll be shown that with the option to check out more information on the website.
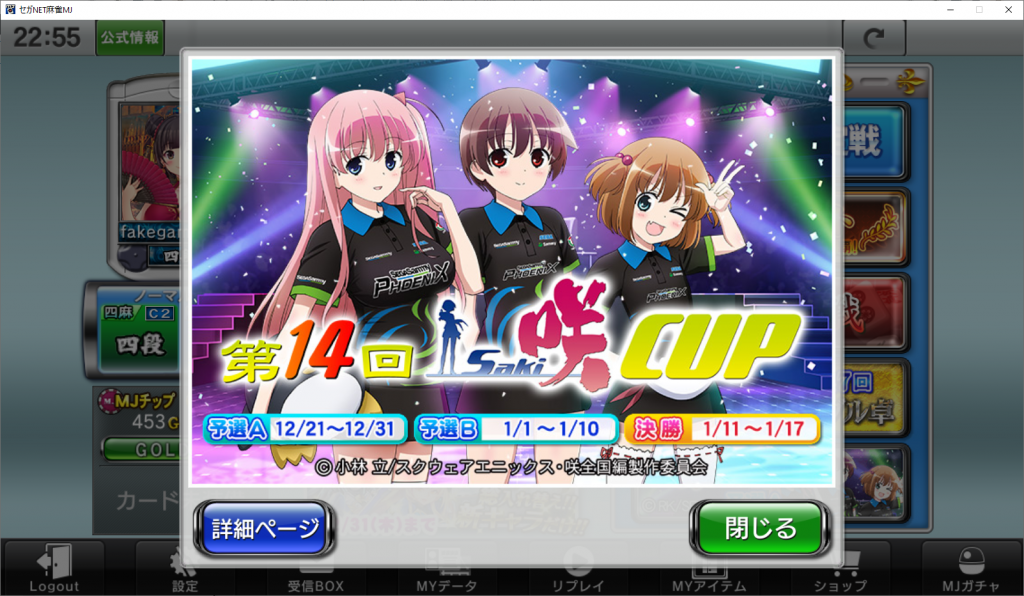
The blue button, 「詳細ページ」4shousai pe-ji
Details page, is “Details page”. For now, we want the green button, 「閉じる」5tojiro
Close, to close the window. We made it! We’re finally in the game client! But first there’s another language setting we’ll want to change.
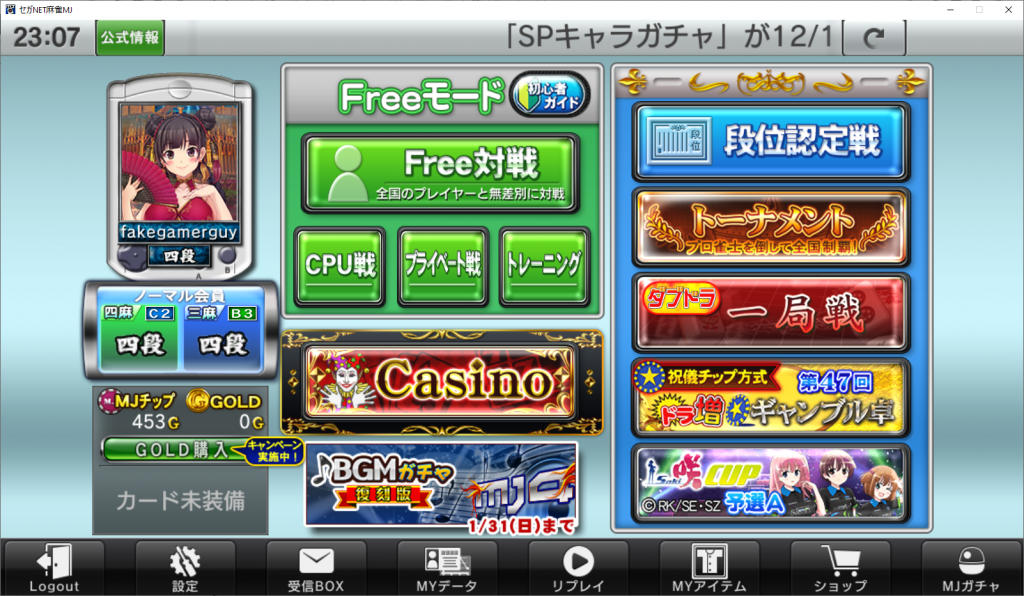
The second icon at the bottom-left with the cog wheel and screwdriver labeled 「設定」6settei
Settings is the main settings menu. Click that, then try not to panic.
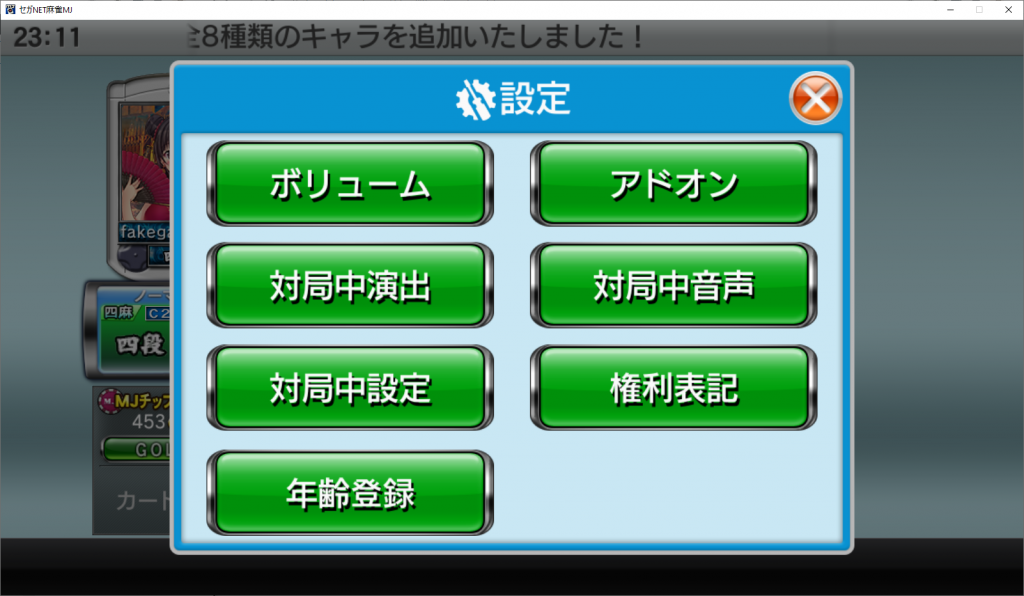
The first option at the top-left, 「ボリューム」7boryu-mu
Volume, is the volume settings. In there, you can change the volume levels of the background music, sound effects, and commentator voices individually. I prefer to have the background music off entirely and listen to my own music. Click 「戻る」8modoru
Back to return to the settings menu.
The real option we want is the second button down on the right side,「対局中音声」9Taikyoku naka onsei
In-game Voices, which is “Voice during game”. These are the settings for the in-game commentators.
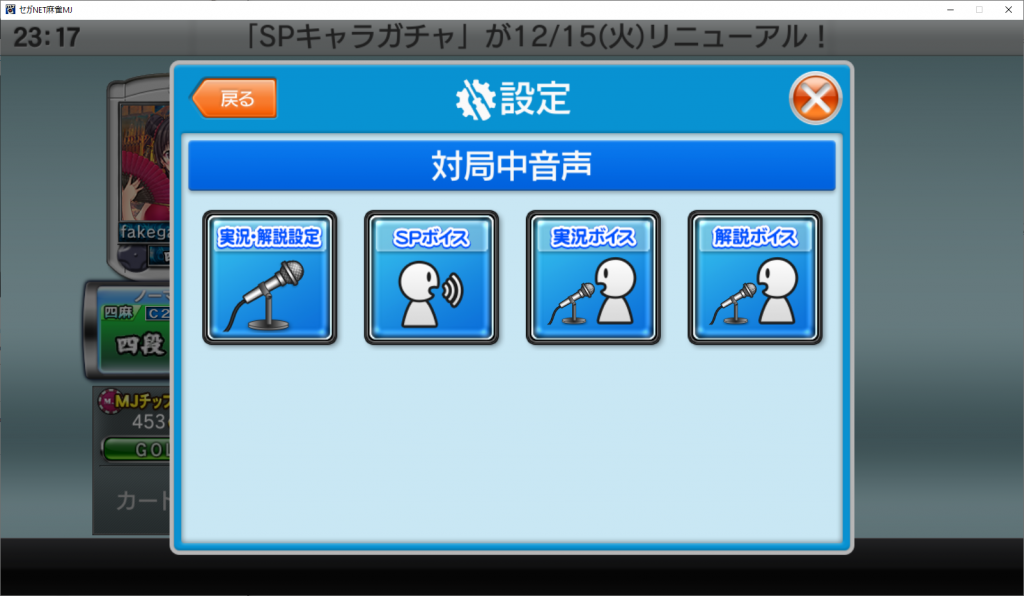
The first button on the left lets you turn voices on and off. The second button, I think, has to do with the “SP” or “special” voices that come from the players’ avatars. I haven’t played with this option, but it’s probably fine in the default unless you really hate the player voices. The next two options are the commentator voices, but each one fulfils a different role. The third button, 「実況ボイス」, is the live analyst voice, and the fourth button, 「解説ボイス」, is the color commentary. Let’s take a look at the last two a little closer.
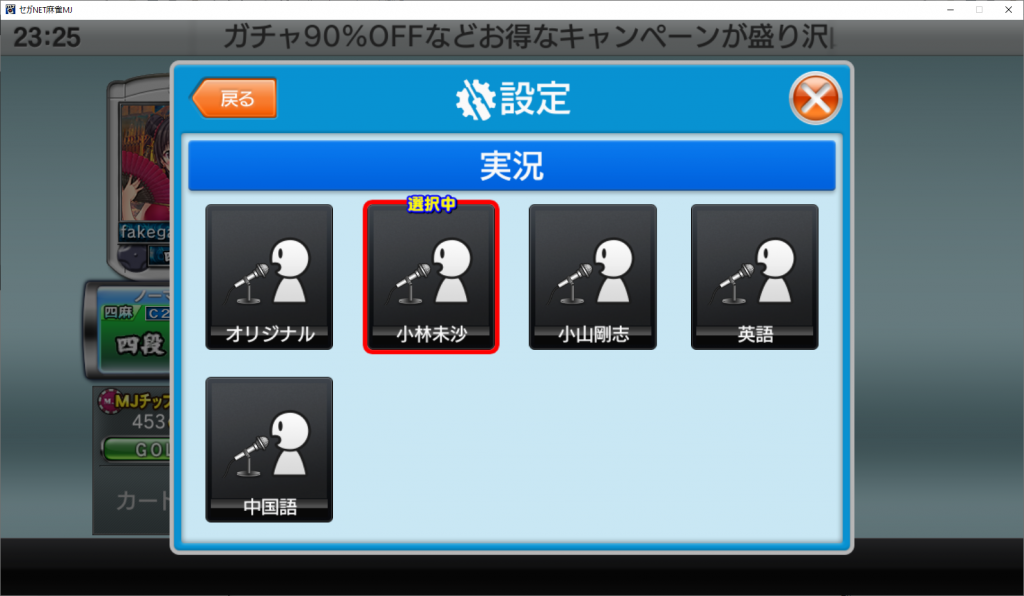
For 「実況ボイス」, the options from top-left to right are: Original, M League commentator Misa Kobayashi, Tsuyoshi Koyama, English, and Chinese. My recommendations would be either Misa Kobayashi 「小林未沙」 or English 「英語」.
Going back and selecting 「解説ボイス」gives you different options for the color commentary.
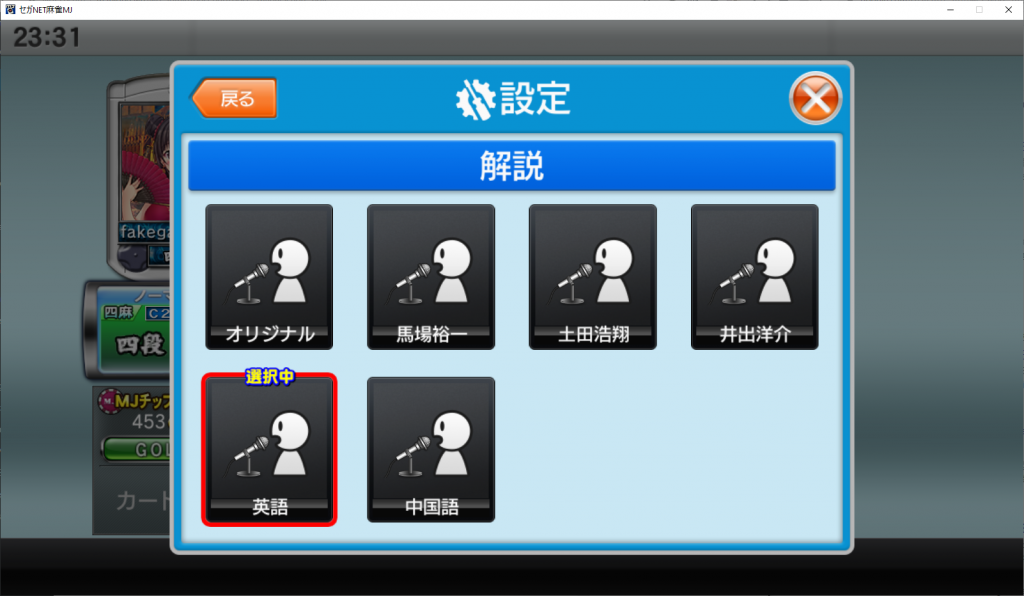
It’s late, so I’ll transcribe the names of the three people later, but the first option is Original, and the last two are English (in red) and Chinese. From here, you can exit all the options windows and ignore any of the other settings. They all involve advanced preferences for default game settings and graphics options that you’ll maybe want to investigate later.
Your First Matches
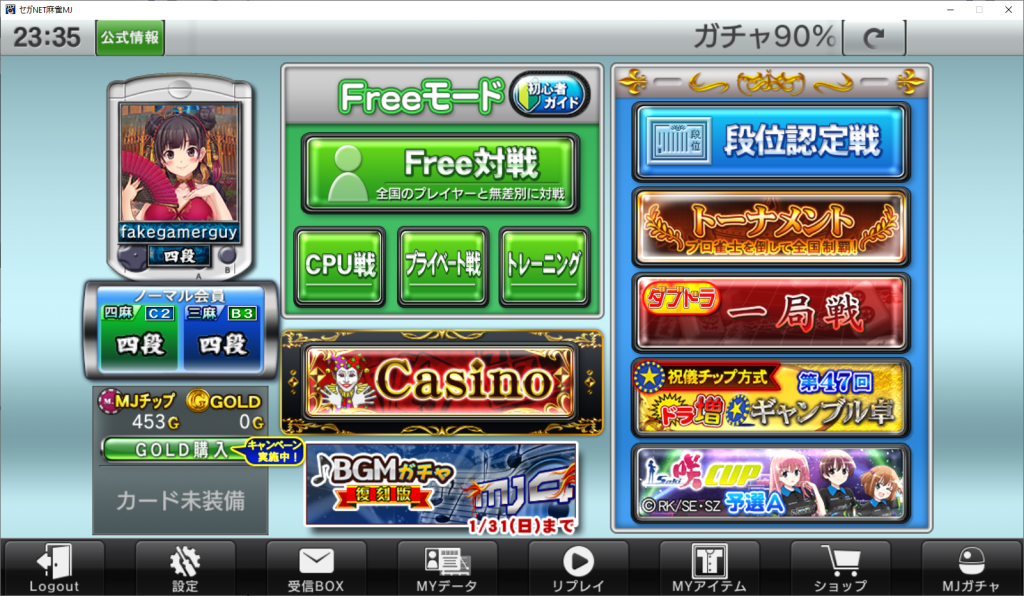
So now we’re back here. The top-center set of buttons in green is “Free Mode”. The top of the four buttons there is “Freeplay”, which lets you play a 3- or 4-player game against other players. You can play as many games as you want with no fees attached to it and little in the way of penalties for losing. If you’re just starting out, this is where you probably want to play.
The next button of the set, 「CPU戦」, is “CPU Battle”. I’d recommend starting here before starting a freeplay match just to get a feel for the client. The middle button, 「プライベート戦」, is “Private Battle”. Here you can create or enter private lobbies to play against your friends. I’ll cover this in another article. The last one is 「トレーニング」, or “Training”. I haven’t played with this option at all, so I’ll need to revisit this another time.
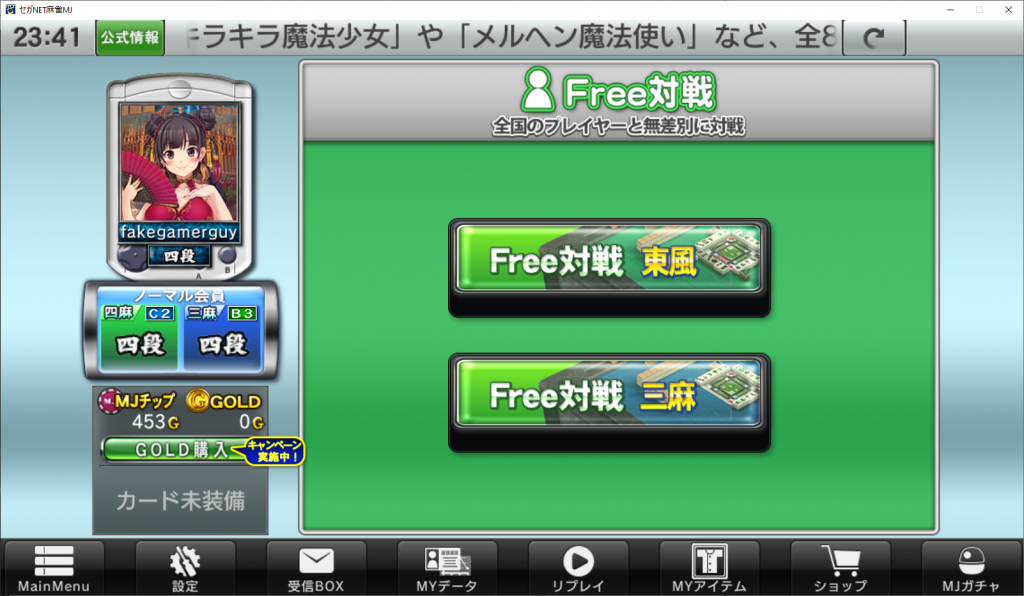
Clicking on either Freeplay or CPU Battle will open a window that gives you the option of playing a 4-player east-only game (top) or a 3-player east/south game (bottom). Clicking either of these options will immediately start matchmaking and cannot be backed out of, so be sure you want to start a match before clicking either of these options.
In-Game Currency, Tickets, Gatchas, and Cosmetics
There’s a lot to cover here, and they’re largely intertwined. At the end of the day, they all require some kind of currency, so that’s where we’ll start.
In-Game Currency
There are three different forms of in-game currency: MJチップ (MJ Chips), Gold, and Medals. MJ Chips can be earned in-game and are used for playing matches (outside of Freeplay), getting items from the Gachapon machines, and even gambling in the casino. The easiest way to get MJ chips is from the login bonuses.

ログインボーナス (Login Bonus) 
Today’s login bonuses was 300 MJチップ (MJ Chips).
If I remember correctly, these types of login bonuses usually only appear for new accounts to help get you accustomed to the client. If there is an event going on, you’ll also get a event ticket each day. The third login bonus happens to be 300 MJ Chips. The other way you can earn MJ Chips is through the Freeplay system.
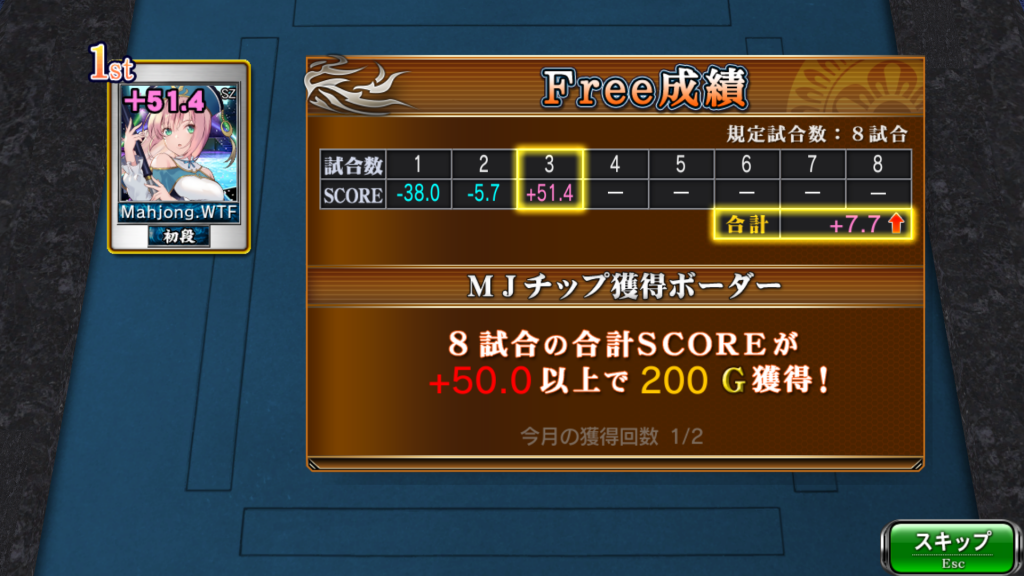
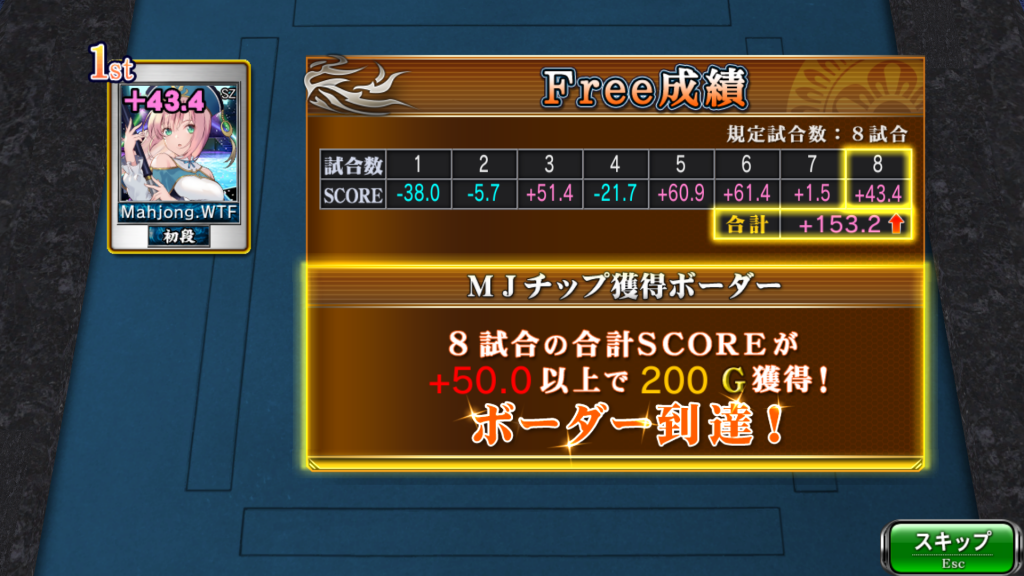
I always have a hard time explaining this kind of system, but basically if you can string together 8 games in a row that have an overall score of +50 you’ll win 200 MJ Chips. Just keep in mind that your bonus can only be claimed twice a month, so don’t go spending all your winnings in the gacha shop right away.
Gold is the premium currency and, as far as I’ve seen, can only be purchased with actual money. The base conversion is 4 yen = 3 gold, and the more you buy at a time the better the conversion.

I consider ¥980 the minimum amount you’d want to purchase since that’s where it’s about 1:1 for the conversion and nets you 1,020 gold which is plenty for maybe a month of casual play. All that said, I’ve only been able to purchase anything once, and after that my payment methods, whether you can actually buy anything probably depends on your bank. I recently went through the whole process of updating the Mahjong.WTF account to purchase gold and I’m still getting errors when they try to process my card.
The third in-game currency is メダル (Medals), which come in bronze, silver, gold, and platinum. These are used for purchasing character accessories.

Copper medals 
Silver medals
I’ll write a separate post about the character accessories, how to buy, sell, use them in another post, but if you want to see what items you already have, click the 「MYアイテム」 (My Items) button at the bottom with the T-shirt icon.

After ranking up you’ll get a bonus. 
This time around it happened to be Casino Chips.
Last (I think) is カジノチップ (Casino Chips). These can only be used in the casino, and ideally you’ll win some number of MJ Chips in return. Most of the games are based on normal casino games, which I’m not a big fan of. The Time to Spin games are all slot machines and Joker’s Double/Wild are a video poker. What’s actually interesting is the game JanQ.
JanQ is a pachinko-based game where you have a starting hand along the bottom (not shown in the screenshot because I didn’t start the game) and you draw tiles by dropping the ball into the slots at the bottom. You have a limited number of draws to get your hand into tenpai, decide if you want to riichi, then complete your hand. There’s a bit more to the game then that, but it’s quite a lot of fun, and a decent way to convert casino chips into MJ Chips.
Tickets
While not specifically a currency, they are used to pay the entry fee for rooms and events instead of having to pay with MJ Chips or Gold. During an event, you’ll be given one エベントPLAY (Event Play) ticket, which I’ll have to get a screenshot of later. This can only be used as your entry fee to a single game of the current event. It’s important to remember that you can only have one event ticket at a time, so don’t expect to save up a week’s worth of tickets to use all at once. There are other tickets you can get for other games, such as the tournament room, but I’ll have to update the article with that info a bit later. I’ll go into more detail later, but if you pay for a game with a ticket and you win, you get your ticket back and can use it again.
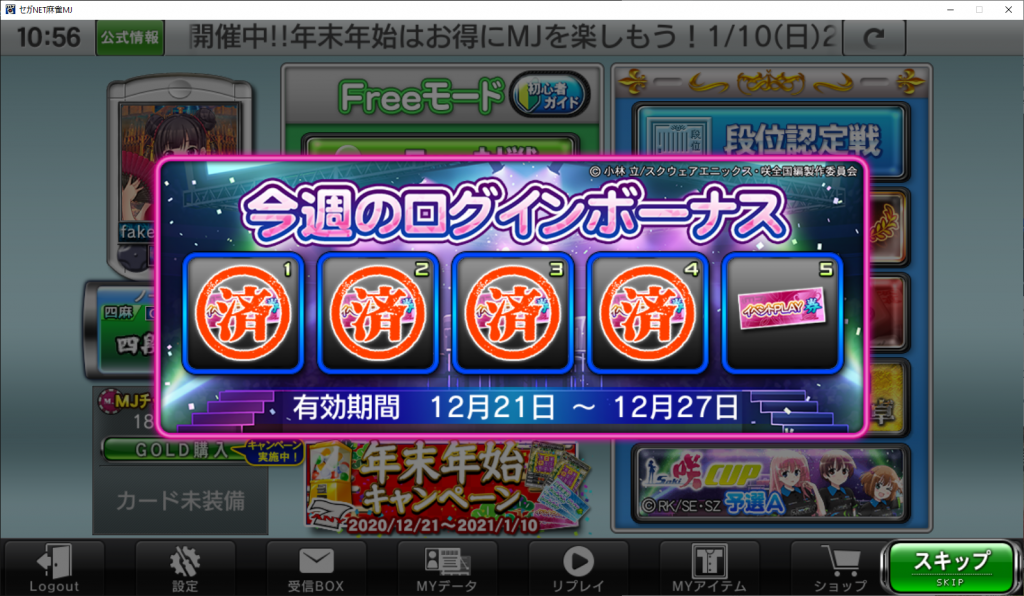
Daily login bonus 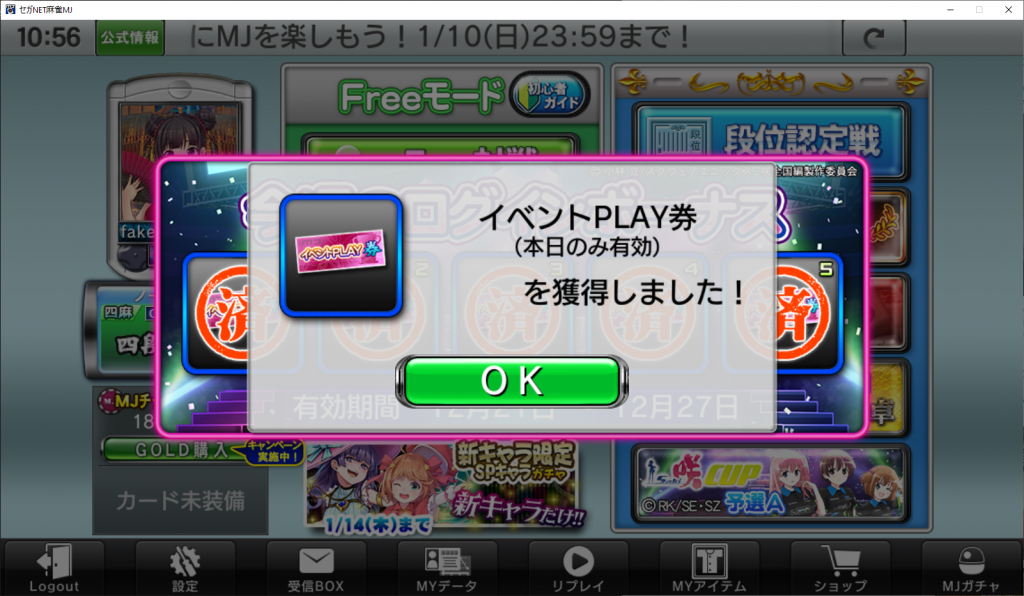
Receiving an Event Play ticket
Gachas
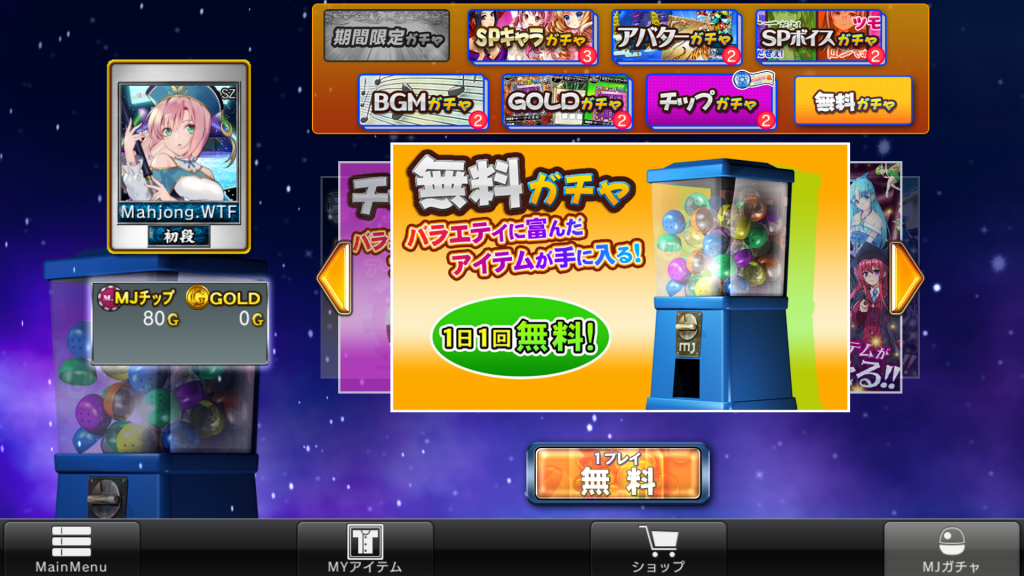
Gachas are where you get all manner of items from new special characters (SPキャラ) to new background music and avatar accessories. Gachas are randomized prizes that come in little plastic capsules, so while you may know what kind of prize you’ll get, you don’t know exactly which one it will be.
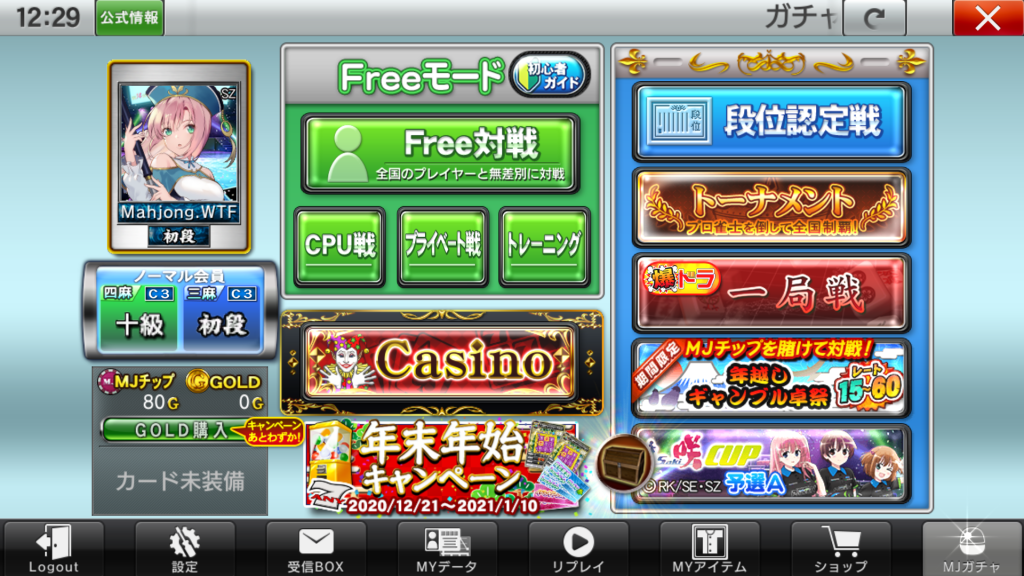
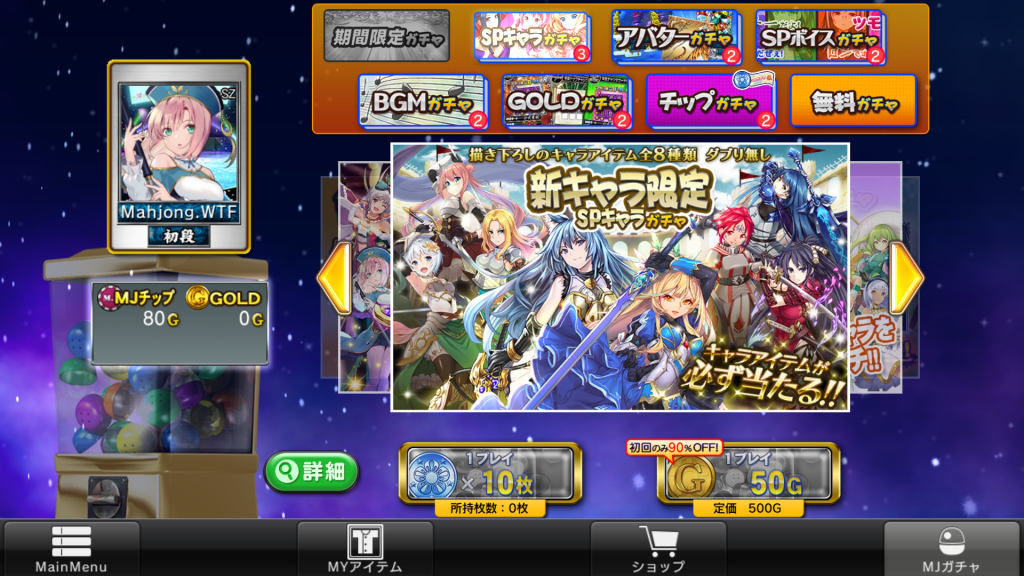
To get the gacha machines, click the very bottom-right button that says 「MJガチャ」. From there, there are a selection of machines available along the top, grouped by item type. The numbers inside the red circles are the number of machines inside that group. For example, if you want a premium character, you can usually choose between three different batches of characters for a better chance of getting one you want.
Before we get started, I want to mention that the screenshots above were taken during a holiday campaign where the gachas that use Gold were 90% off, and the discounted price is the one shown in large, gold text. The list price is the smaller price below where it says 「定価10Teika
List Price 500」. Taking into account the current exchange rate between USD and YEN, and the bonuses based on how much Gold you buy at a time, 500 Gold can set you back $3.74 and $6.47, while 300 Gold will cost between $2.24 and $3.88. The other box you’ll see is 「所持枚数11Shoji maisuu
Quantity in possession」, followed by a number. That’s how many tickets or medals you have in your inventory.
「SPキャラガチャ」 is “Special Character Gacha”. Characters are replacements for avatars. Avatars can be customized with hats, glasses, and other accessories, but characters cannot. However, they’re generally much cooler looking and are usually (always?) licensed anime and game characters. You can pay either 10 platinum medals or 500 gold for a single “pull”. If you want more details about the characters available in each of the SP Character Gacha machines, click the green button with the magnifying glass.
「アバターガチャ」 is “Avatar Gacha”. These will include premium avatar accessories, which are currently backgrounds and frames. These can only be paid for with Gold and cost 300 Gold. Cool backgrounds and frames can be purchased directly from the shop with medals, so I don’t recommend spending gold here unless you really want what’s available in the gacha machines. For more details on what’s available, click the green button with the magnifying glass.
「SPボイスガチャ」 is “Special Voice Gacha” and cost 300 Gold. I haven’t played with the custom voices, so I can’t provide any help with this one yet. Some SP Characters, usually ones that are obtained through events like the Saki Cup, include SP voices as well.
「BGMガチャ」 is “Background Music Gacha”. This is another aspect of the game I haven’t tried out yet, so I’ll update this once I know what I’m talking about, but it should be pretty obvious what these generally do.
「GOLDガチャ」 is “Gold Gacha”. These contain cards that are used as a mini-game to win additional prizes and chips while playing in most games with the exception of freeplay, These cards will have their own section, but basically they contain different bingo cards or win challenges that, if completed, will give you prizes. These can be obtained many other ways that don’t require spending Gold, so I generally wouldn’t recommend using these gachas, but since you’re using premium currency you’re guaranteed better cards than you would get through other methods. There are currently two different Gold Gacha machines. The first is 「GOLDガチャSP」which offers SR (Super Rare) cards for 500 Gold each, and the second is the normal 「GOLDガチャ」 which provides N (Normal) and N+ cards. The SR cards have better prizes than the N and R (rare) cards.
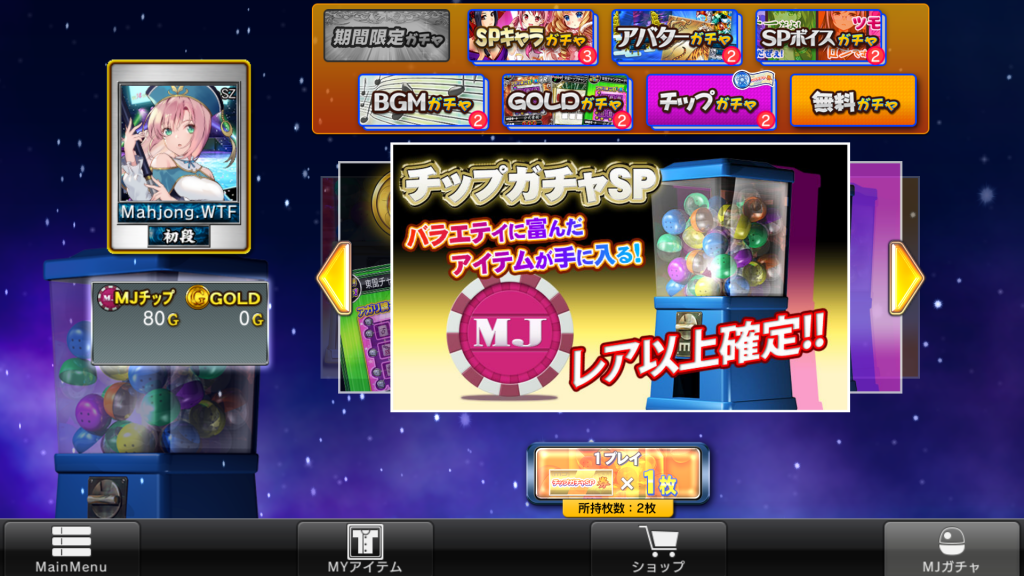
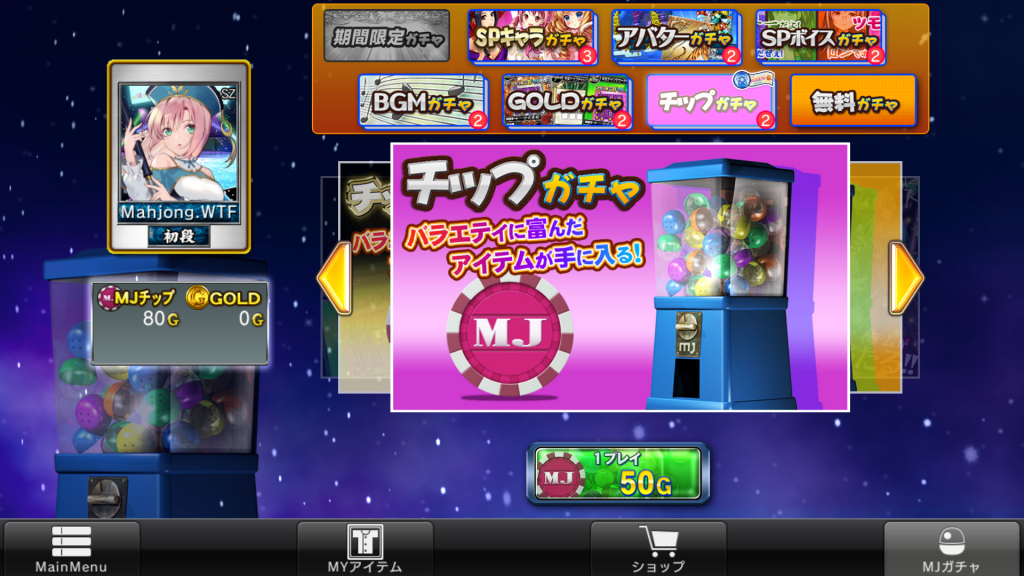
「チップガチャ」 is “Chip Gacha”. These advertise getting a “Variety of items”. What’s available and what the odds are for each item aren’t listed, but generally you’ll get avatar accessories, cards, and medals. Like the Gold Gacha machine, this one also has an SP and normal version. 「チップガチャSP」 costs 300 Gold and the normal 「チップガチャ」 costs 50 Gold.
「無料ガチャ」 is “Free Gacha”, which is a once-daily gacha machine that costs absolutely nothing. It also advertises a variety of items, which I believe provides the same items as the normal Chip Gacha machine.
Items & Avatar Customization
“Items” include everything in the game that you can earn and collect in SegaNet MJ, from your characters and customizations to background music, tile colors, tickets, and more.
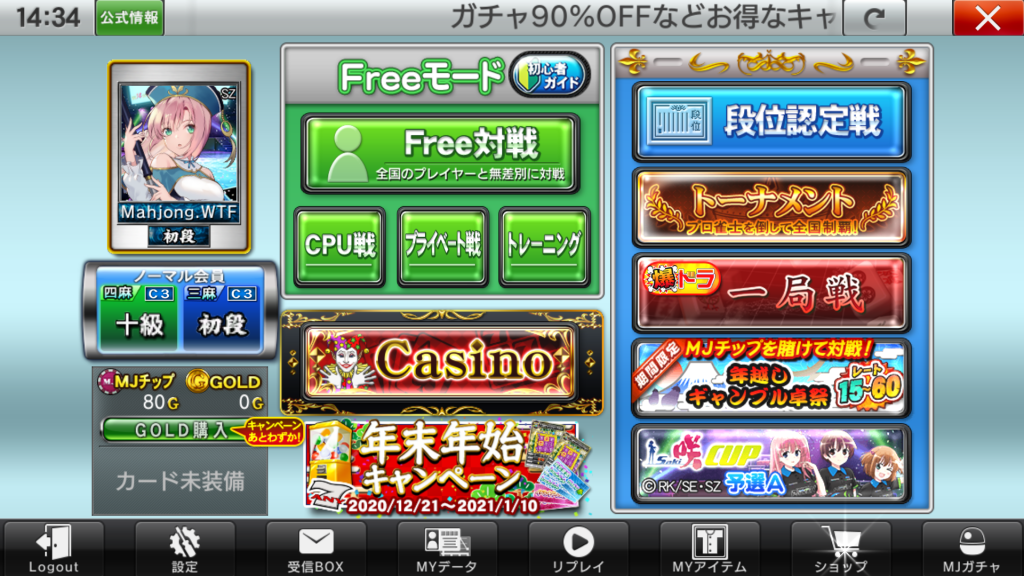
Check your inventory by clicking the button 3rd from the right that says 「MYアイテム」 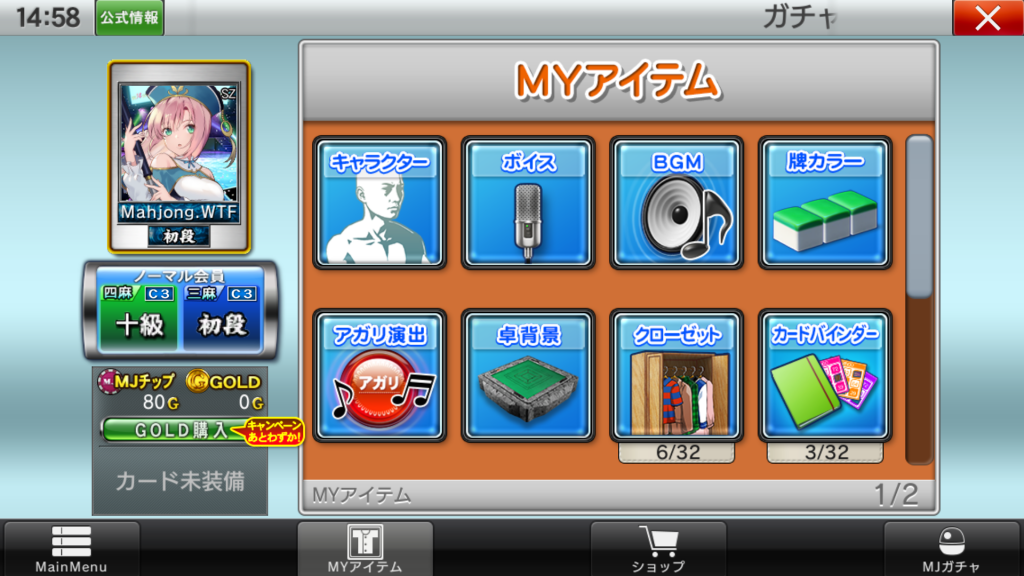
All your collectables are stored here
There are two pages of categories here. Scrolling with the mouse wheel or touch pad doesn’t work, so you have to grab the scroll bar and drag it down. Starting from the top-left, the options are…
- 「キャラクター」 is “Character”
- 「ボイス」 is “Voice”
- 「BGM] is “Background Music”
- 「牌カラー」 is “Tile color”, specifically the tile backing.
- 「アガリ袁術」 which is… “Win theatrics”, I guess. They’re rare, but you can get buttons and sound effects for things like the “Push to Win” button.
- 「卓背景」 is “Table Background”.
- 「クローゼット」 is “Closet”, where all of your avatar customization, including frames and backgrounds, are accessible.
- 「カードバインダー」 is “Card Binder”, where the Bingo cards and stuff like that are kept.
- 「メダル」 is “Medals”
- 「チケット」 is “Tickets”, which opens a browser window to show how many tickets you have.
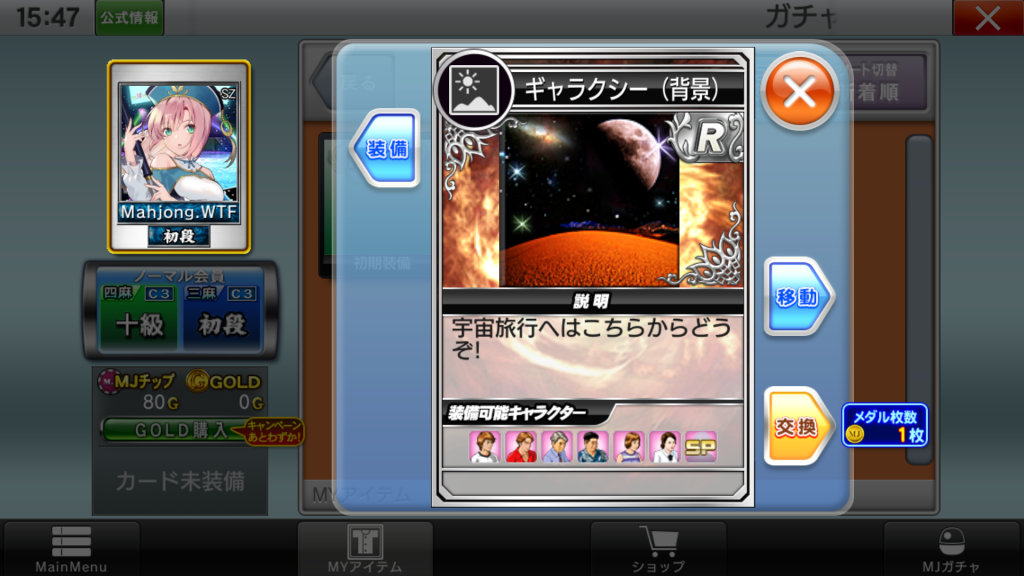
When you click on an avatar accessory, you will usually be prompted with a few options like the ones presented above. The option on the top-left, 「装備」, equips the item. Clicking this will show a preview on your avatar (assuming it’s compatible with your current character), as well as an additional prompt with a button that reads 「決定」, or “Confirm”. Clicking this will save your changes. If the “Equip” button is greyed out it means the item isn’t compatible with your character.
The blue button on the right is 「移動」, or “Transfer”, which looks like it allows you to give the item to a friend, but I haven’t found any kind of friends list system anywhere yet.
The gold button on the right, 「交換」, or “Exchange”, allows you to sell your items for medals. In the photo above, the background image can be sold for 1 gold medal. If you click on that button you’ll see another window appear asking if you want to exchange the item for the specified amount of medals. Click the green “OK” button to confirm”, or 「キャンセル」 to cancel.
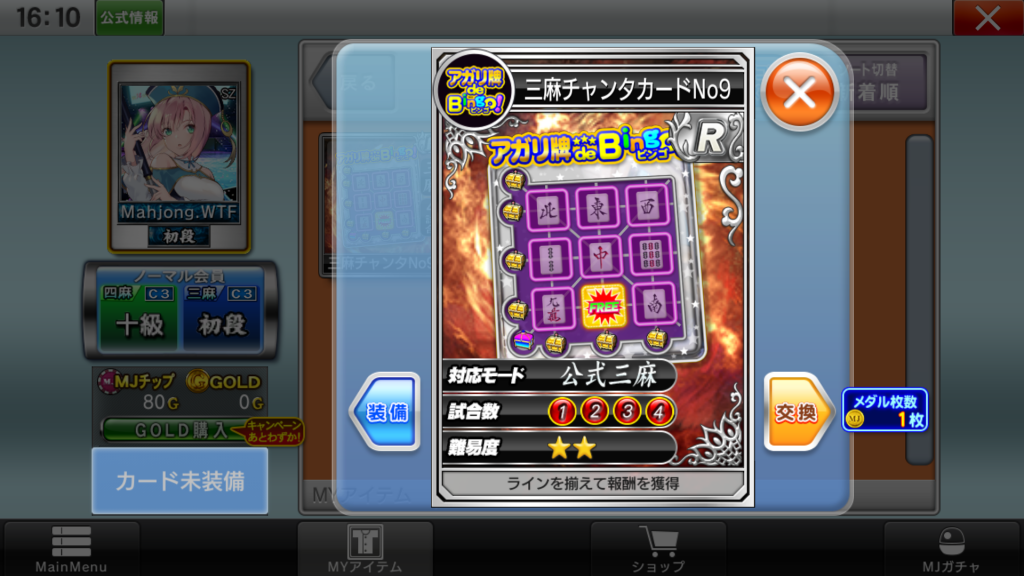
For the cards, the buttons are the same. On the left you have the “Equip” button, and on the right is the “Exchange” button. All that being said, if you don’t have items to equip, there’s not much point in digging around in here, so let’s shopping. From the Items menu or the main menu, click the shopping cart at the bottom that says 「ショップ」, or “Shop”.




Awesome, downloading the Japanese client as the English one is light on gacha features.
Thanks for the great guide!
Any tip how to purchase Gold from US? The game won’t let me use a US credit card.
What’s your favorite PC mahjong client these days?
I was able to do it once with a US card but it stopped working after that. Not sure if there’s a current workaround, but if I find anything I’ll post about it.
My favorite client is either Mahjong Soul or Tenhou just because they’re multiplatform (trying to run SegaNet MJ on Linux is obnoxious and nearly impossible on Mac), but I’m really against kuitan + aka dora in ranked play so every online client is committing grave crimes in my eyes. Maybe Ron2 or Riichi City are better but I haven’t tried them.
Thanks for this guide! Even though they’ve updated the UI a bunch it still really helps. I started playing for the Sakura Wars event and managed to roll SSR Shinguji Sakura on the webapp version. I didn’t realise gacha rolls were locked to a platform though, so my rolls didn’t transfer over to my file on iOS. Oh well, thankfully I didn’t spend much. Although if you know a solution to this I’d love to hear it, haha.